I posted yesterday about Lucky's new room addition, and I showed a picture of the exterior. Here is what was going on inside when we bought it:


I wasn't loving the wood surface inside, so I used these supplies:

Modge Podge, foam brush, Exacto knife, and 2 rolls of wrapping paper from Target
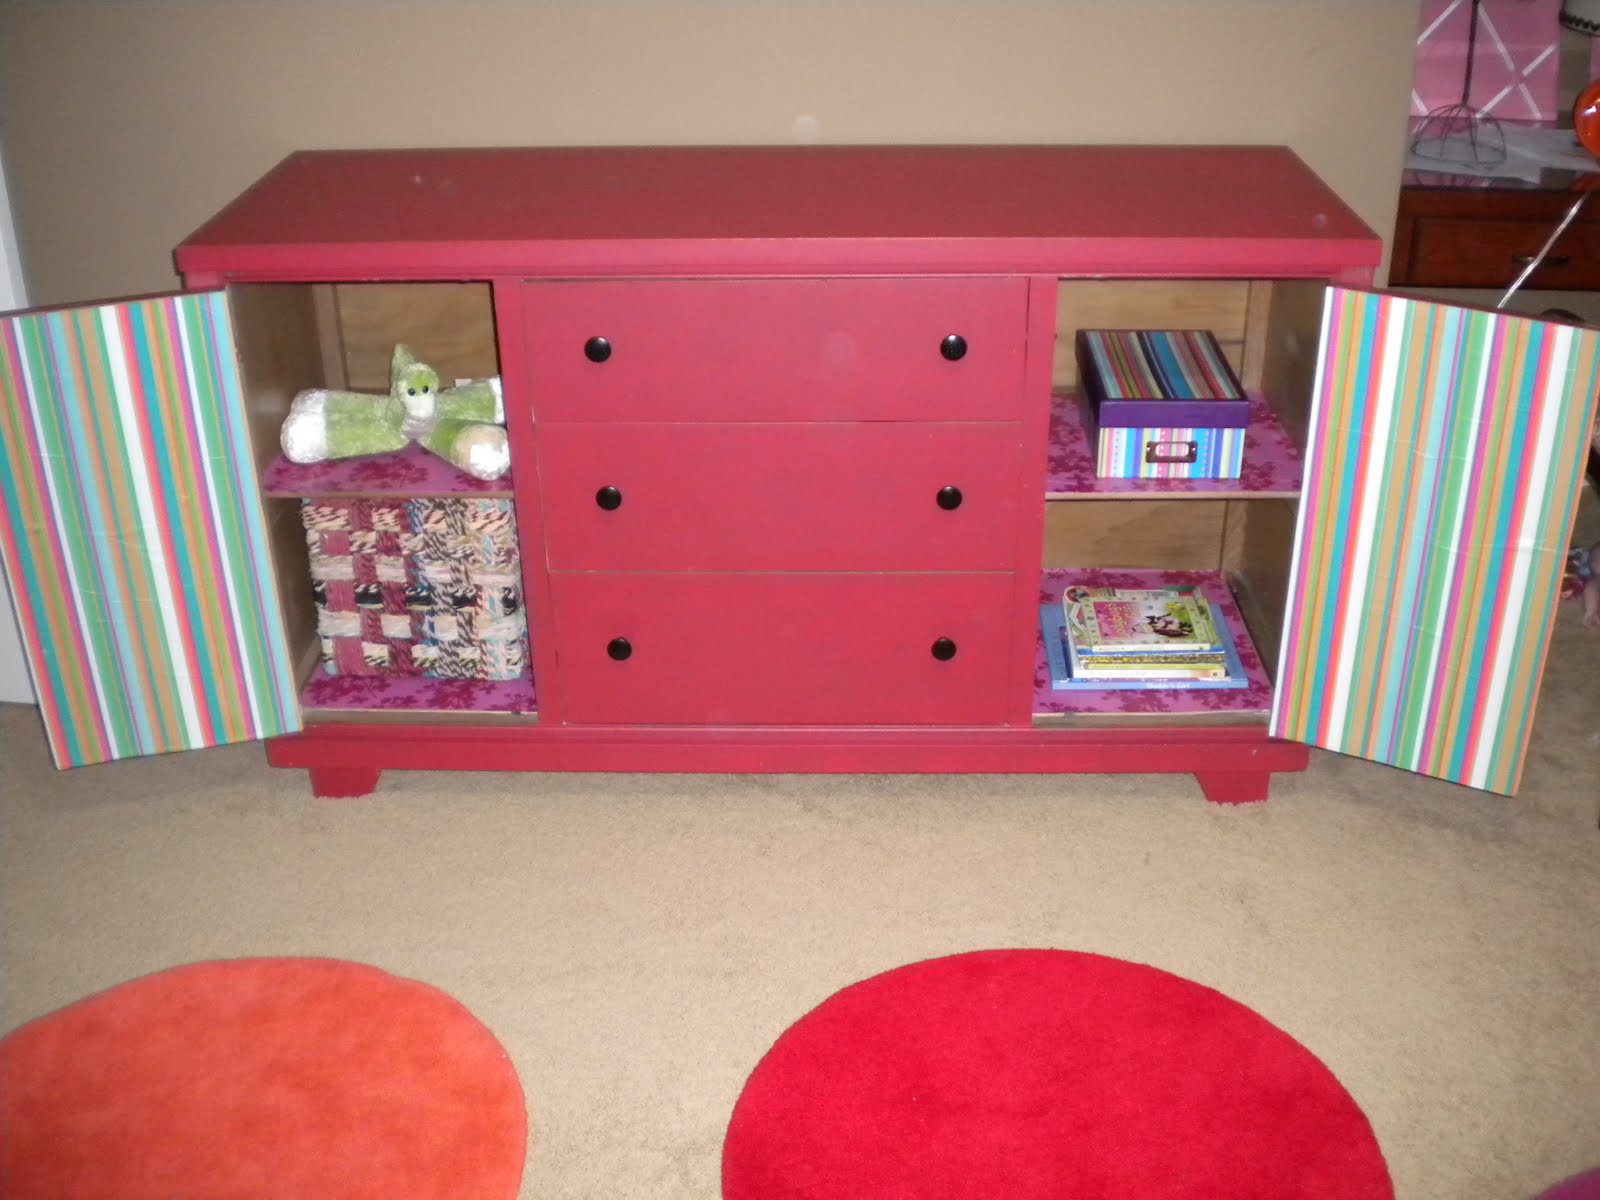
And now look inside:


Lucky has lots of toy storage!

Project Breakdown:
I had everything on hand, except for the wrapping paper, which cost about $7 for 2 rolls. I didn't use very much of it, so I'll be able to wrap presents with it down the road as well.
My tips for you if you are interested in trying this project out would be to use a fabric measuring tape to measure your drawer space, and then draw it out on the paper with a yard stick for ease in making straight cuts. I am not a straight cutter, even with an Exacto knife, and crooked cuts were very frustrating. The yardstick method worked well for me. Also, if you want a really smooth, clean look, invest in some high quality paper to cover the areas. I just used the thin, regular kind and it definitely bubbled up on me. I'm calling it character and rolling with it. It's a $50 toy cupboard in a 3 year old's room. She's not that picky:).
I just love the color/pattern combinations that you used. It is such a beautiful, cheerful room for Lucky!
ReplyDelete